Infrastructure as Code (Terraform + Digital Ocean)
In this post, I show how to set up servers using the terraform command line.

Daniel Gustaw
• 3 min read

In scraping, an important factor is the scale to which we can expand the rate of data retrieval and processing. A few years ago, when I wrote my first system that collected data in parallel using several servers, each of these servers was “clicked” by me in the provider’s panel.
Now I will show how to set up servers from the command line using terraform. The provider will be Digital Ocean, as it has very favorable (8-10 times lower) network transfer prices compared to its biggest competitor.

Installation of Terraform
yay -S terraform
Connecting the Provider
To connect to Digital Ocean we need a token. If we do not have it, we will find the “Generate New Token” button in the API tab in the panel.

It’s worth saving the token in ~/.zshrc or ~/.bashrc
export DIGITALOCEAN_TOKEN=xxxxxxxxxxxxxxxxxxxxxx
after re-executing this file will be available in all projects we create.
The official documentation shows how to do this using the do_token variable
but I do not recommend this method, as it forces us to add -var arguments to terraform commands, and the approach presented here saves us the number of characters typed.
To configure the connection to Digital Ocean having the token in environment variables, we create a file provider.tf and enter the following:
terraform {
  required_providers {
    digitalocean = {
      source = "digitalocean/digitalocean"
      version = "2.5.1"
    }
  }
}

provider "digitalocean" {}
And then we execute the initialization command.
terraform init
Server Deployment
The next step is to plan and set up the infrastructure. In our case, it will be very simple. It should contain exactly one droplet with keys to all the inventory that I want to log into.
We create another file. I named it master.tf
data "digitalocean_ssh_key" "dell" {
  name = "Daniel Laptop Dell"
}
data "digitalocean_ssh_key" "yoga" {
  name = "Daniel Lenovo Yoga"
}
data "digitalocean_ssh_key" "hp" {
  name = "Daniel Stacjonarny"
}
# Create a web server
resource "digitalocean_droplet" "web" {
  image  = "ubuntu-18-04-x64"
  name   = "web-1"
  region = "fra1"
  size   = "s-1vcpu-1gb"
  ssh_keys = [
    data.digitalocean_ssh_key.dell.id,
    data.digitalocean_ssh_key.yoga.id,
    data.digitalocean_ssh_key.hp.id
  ]
}
These are the keys that we will find in the “Settings -> Security” tab in the Digital Ocean panel.

Execution
terraform plan
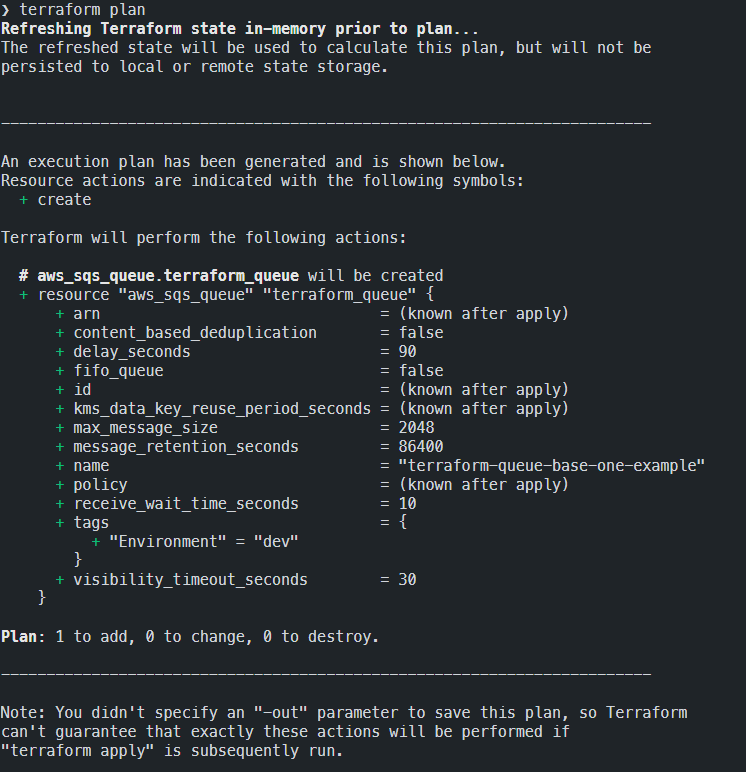
It will check if our configuration is okay and allow us to see how the architecture will change after deployment. In this case, it will be the addition of one server - exactly as we wrote in the configuration.

We will implement by entering
terraform apply -auto-approve
The execution of this command took me 47s.
Overview of Results
To see what we have set up, we execute the command:
terraform show terraform.tfstate
It returns data about resources managed by terraform

The most interesting for us is ip. In this case 164.90.174.250.
I log in to the server with the command
ssh -o "StrictHostKeyChecking no" [email protected]
As you can see, it works because the command logged us into the server web-1 as root.

After returning to localhost with the command
exit
we can remove all created droplets with the command
terraform destroy -auto-approve
It should be remembered after the work is completed, especially if we operate on a large scale of computing power!
Other articles
You can find interesting also.

How to create a free email account with custom domain?
In this article, you will learn how to create a free email with a custom domain. I've shown how to configure Yandex with your DNS.

Daniel Gustaw
• 1 min read

Scraping of the Pharmacy Register
Data administrators hate it. See how by entering two commands in the console he downloaded the register of all pharmacies in Poland.

Daniel Gustaw
• 7 min read

Scraping from money.pl in 30 lines of code.
See a simple case study of downloading and processing data from a paginated table.

Daniel Gustaw
• 8 min read